
Transform everyday items into beautiful home decorations with these creative upcycling ideas. Not only will you save money, but you'll also reduce waste and create unique pieces that reflect your personal style.
1. Wine Bottle Centerpieces
Empty wine bottles can be transformed into elegant centerpieces with just a few simple steps. Clean the bottles thoroughly and remove the labels. You can paint them with chalk paint for a rustic look or spray paint them in metallic colors for a more modern appeal.
Materials You'll Need:
- Empty wine bottles
- Paint (chalk, spray, or acrylic)
- Paintbrushes
- Sandpaper (optional for distressed look)
- Twine or ribbon
- Artificial flowers or dried botanicals
Step-by-Step Instructions:
- Clean the bottles thoroughly and remove all labels
- Apply primer if using dark paint colors
- Paint the bottles with your chosen color
- Add a second coat if necessary
- Distress with sandpaper if desired
- Wrap twine or ribbon around the neck of the bottle
- Add flowers or botanicals to complete the centerpiece
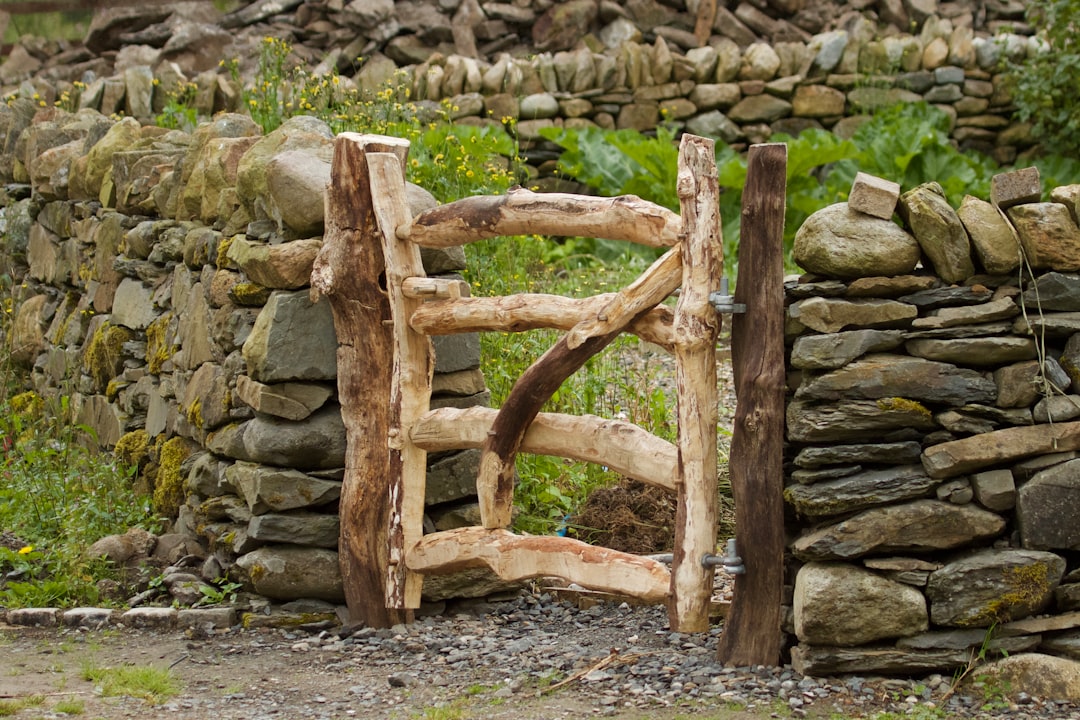
2. Pallet Wood Wall Art
Wooden pallets are readily available and can be disassembled to create beautiful wall art. The weathered look of pallet wood adds character to any room, and you can customize your design to match your home's aesthetic.
Materials You'll Need:
- Wooden pallet
- Hammer and pry bar
- Sandpaper
- Saw
- Wood stain or paint
- Brushes
- Picture hanging hardware
Step-by-Step Instructions:
- Carefully disassemble the pallet using a hammer and pry bar
- Remove any nails and sand the wood smooth
- Cut the boards to your desired lengths
- Arrange the boards in your preferred pattern
- Stain or paint the wood as desired
- Attach the boards together using small pieces of wood on the back
- Add hanging hardware and mount on your wall
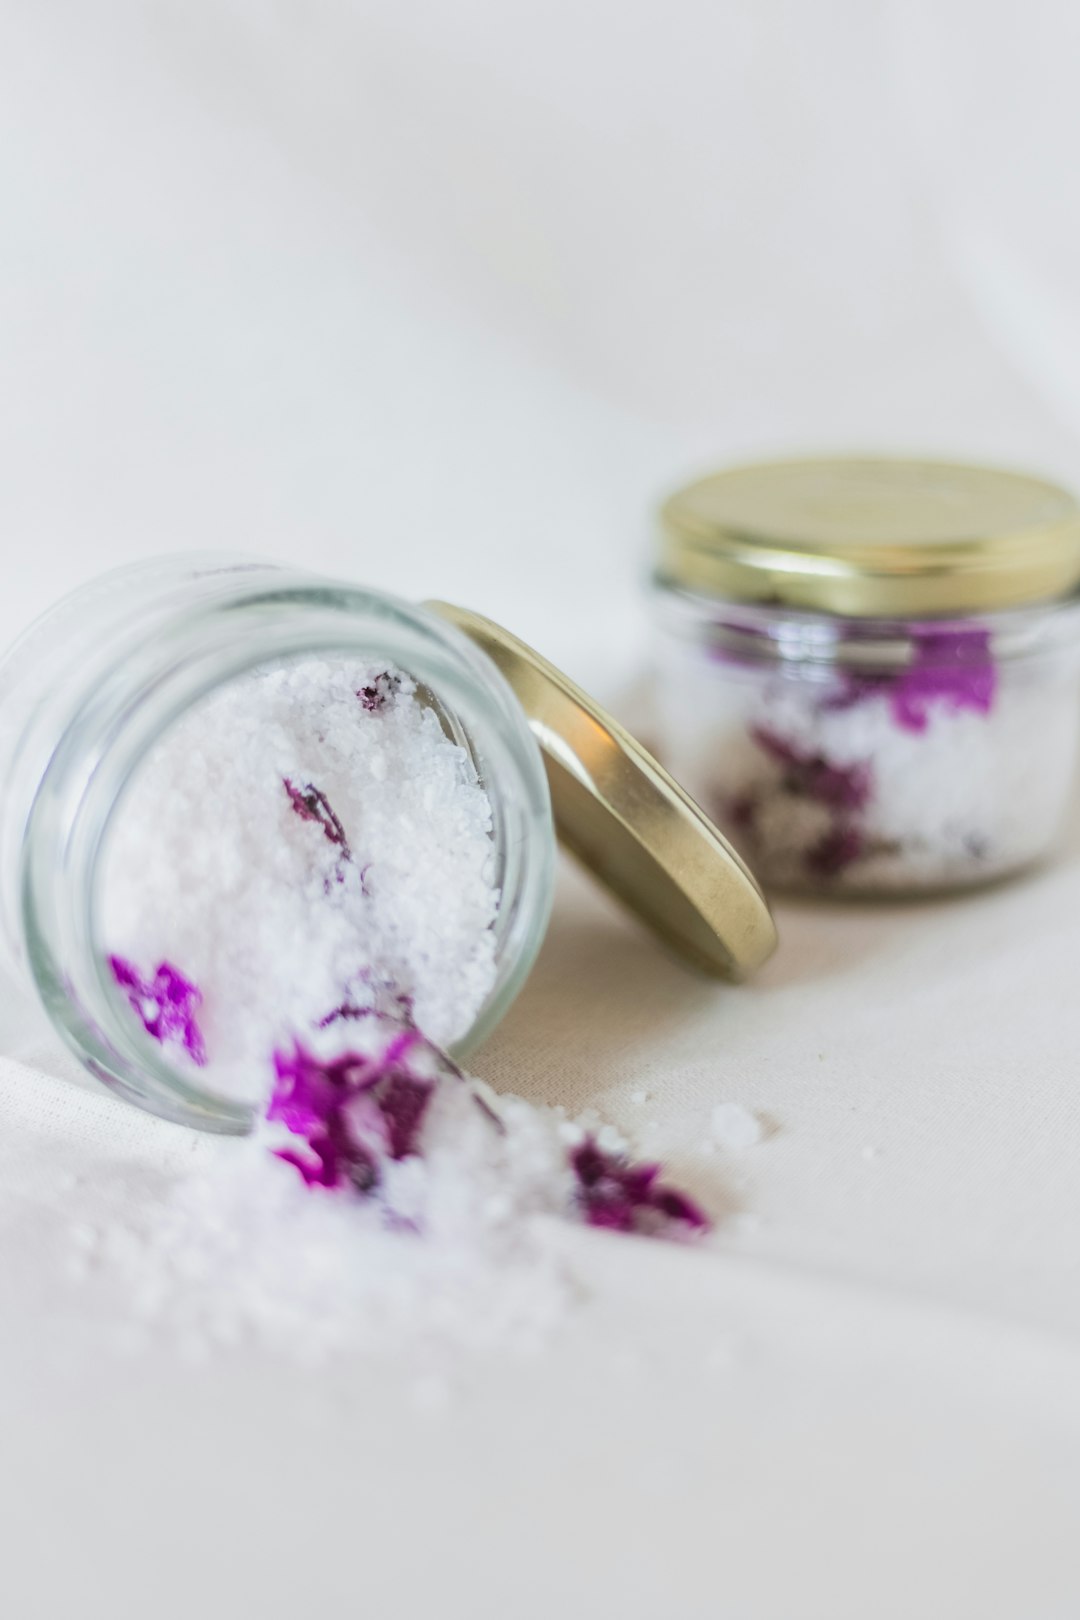
3. Mason Jar Light Fixtures
Mason jars can be repurposed into charming light fixtures that add a rustic or industrial touch to your home. This project is relatively simple but creates a big impact in any space.
Materials You'll Need:
- Mason jars
- Pendant light kits
- Drill with glass drill bit
- LED bulbs
- Wire for hanging (optional)
- Wooden board (for multiple jar chandelier)
Step-by-Step Instructions:
- Drill a hole in the center of the mason jar lid
- Thread the pendant light cord through the hole
- Secure the socket to the lid
- Screw the lid onto the jar
- Install an LED bulb
- Hang your new light fixture
Pro Tip
When working with glass, always wear safety glasses and gloves. Use a glass drill bit and drill slowly with light pressure to avoid cracking the jar.
4. Upcycled Drawer Shelves
Old drawers from discarded dressers can be repurposed into unique wall shelves. This is a great way to add storage and visual interest to any room in your home.
Materials You'll Need:
- Old drawers
- Sandpaper
- Paint or stain
- Paintbrushes
- Wall anchors and screws
- Drill
- Level
Step-by-Step Instructions:
- Clean the drawers thoroughly
- Sand the surfaces to remove any old finish
- Apply paint or stain as desired
- Allow to dry completely
- Determine placement on the wall and mark with a pencil
- Install wall anchors if not mounting to studs
- Secure drawers to the wall with screws
5. Tin Can Lanterns
Don't throw away those tin cans from your kitchen! With a few simple tools, you can transform them into beautiful lanterns that cast magical patterns when lit from within.
Materials You'll Need:
- Clean tin cans
- Hammer and nail or electric drill
- Marker
- Design pattern (optional)
- Spray paint
- Wire for handles
- Tea lights or battery-operated candles
Step-by-Step Instructions:
- Clean and dry the tin cans thoroughly
- Fill cans with water and freeze (this makes punching holes easier)
- Draw or trace your pattern onto the can
- Punch holes following your pattern using a nail and hammer
- Once completed, allow ice to melt and dry the can
- Spray paint the can if desired
- Add a wire handle if you want to hang the lantern
- Place a tea light inside to illuminate your design
Ready to Start Upcycling?
These upcycled home decor ideas are just the beginning of what you can create with items you might otherwise discard. The beauty of upcycling is that it allows you to be creative, save money, and reduce waste—all while creating unique pieces for your home.
Remember, the key to successful upcycling is to see the potential in everyday objects. With a little imagination and some basic tools, you can transform the ordinary into something extraordinary.
Comments (5)
Sarah Miller
June 12, 2024I tried the wine bottle centerpieces for my dinner party last weekend and they were a huge hit! Everyone kept asking where I bought them. Thanks for the inspiration!
David Thompson
June 11, 2024The tin can lanterns look amazing! Do you have any tips for creating more intricate patterns without the can getting bent out of shape?
Emma Johnson
June 11, 2024Great question, David! Freezing water inside the can is key for intricate patterns. Make sure the ice is completely frozen solid before punching holes. Also, use a smaller nail and tap gently with the hammer. You can also try using an awl for more precise holes.
Leave a Comment