
Learn how to breathe new life into old furniture with these simple restoration techniques. This comprehensive guide will walk you through refinishing, reupholstering, and reimagining old pieces to create stunning, customized furniture that reflects your style.
Why Restore Old Furniture?
Before diving into specific projects, let's consider why furniture restoration is worth your time:
- Quality: Older furniture is often made from solid wood and built to last, unlike many modern pieces.
- Sustainability: Restoring furniture keeps it out of landfills and reduces the demand for new resources.
- Value: A well-executed restoration can significantly increase a piece's value.
- Customization: Restoration allows you to create furniture that perfectly matches your style and needs.
- Satisfaction: There's immense pride in transforming something old and unwanted into a beautiful, functional piece.
1. Assessing Your Furniture

Before beginning any restoration project, it's essential to thoroughly assess your piece to determine its condition and what approaches will work best.
What to Look For:
- Structural integrity (wobbly legs, loose joints)
- Wood type and quality
- Existing finish condition
- Signs of wood rot or insect damage
- Value (some antiques may lose value if refinished)
- Original hardware condition
Pro Tip
Check the underside or back of furniture for manufacturer marks or labels. This can help identify valuable antiques that may require professional restoration.
2. Essential Tools and Materials

Having the right tools on hand will make your furniture restoration project much smoother. Here's what you'll need for most basic projects:
Basic Tool Kit:
- Sandpaper (various grits from 80-220)
- Sanding block or electric sander
- Screwdrivers (flathead and Phillips)
- Hammer and rubber mallet
- Wood glue
- Paintbrushes and foam brushes
- Paint stripper (if removing old finish)
- Wood filler
- Tack cloth
- Protective gear (gloves, safety glasses, mask)
Finishing Materials:
- Wood stain
- Paint (chalk, milk, or latex)
- Clear finish (polyurethane, wax, or oil)
- New hardware (if replacing)
- Fabric and padding (for upholstery projects)
3. Stripping and Sanding

Removing the old finish is often the most labor-intensive part of furniture restoration, but it's essential for achieving a beautiful end result.
Step-by-Step Stripping Process:
- Remove all hardware and set aside
- Apply paint stripper according to product instructions
- Scrape away loosened finish with a plastic scraper
- Clean residue with appropriate solvent
- Allow wood to dry completely
- Sand with medium-grit sandpaper (120-150)
- Progress to fine-grit sandpaper (180-220) for a smooth finish
- Remove all dust with tack cloth
Pro Tip
Always sand in the direction of the wood grain to avoid scratches that will be visible in the final finish.
4. Repairing Structural Issues
Before refinishing, address any structural issues to ensure your furniture is sturdy and functional.
Common Repairs:
- Loose joints: Disassemble, clean old glue, apply new wood glue, clamp, and allow to dry
- Broken parts: Replace or repair using wood glue and clamps
- Scratches and gouges: Fill with wood filler that matches your intended finish color
- Wobbly legs: Reinforce with corner braces or replace damaged parts
- Missing hardware: Replace with vintage or reproduction pieces that match the style
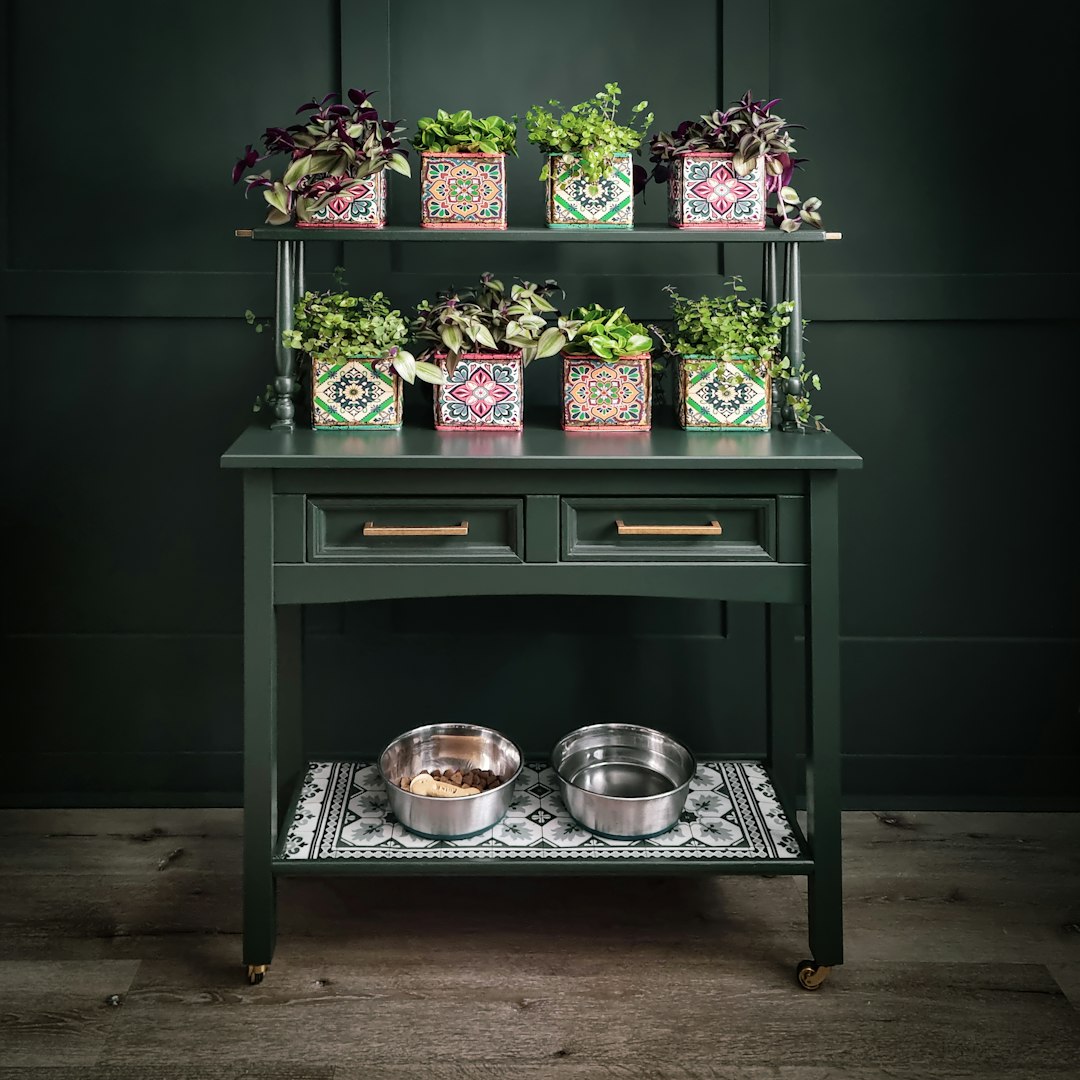
5. Refinishing Techniques
Now comes the creative part - giving your furniture a beautiful new finish. Here are several popular approaches:
Natural Wood Finish:
- Apply pre-stain wood conditioner to ensure even stain absorption
- Apply wood stain with a brush or cloth, following grain direction
- Wipe excess stain after recommended time (usually 5-15 minutes)
- Allow to dry completely (24 hours minimum)
- Apply clear protective finish (polyurethane, varnish, or wax)
- Sand lightly between coats with fine-grit sandpaper
- Apply 2-3 coats for durability
Painted Finish:
- Apply primer designed for furniture
- Allow primer to dry completely
- Sand lightly with fine-grit sandpaper
- Apply paint in thin, even coats
- Allow each coat to dry thoroughly
- Apply 2-3 coats for solid coverage
- Seal with clear topcoat if desired (especially for chalk paint)
Distressed or Antiqued Finish:
- Apply base coat of paint and allow to dry
- Lightly sand edges and areas that would naturally wear
- Apply contrasting color if desired (often a dark wax or glaze)
- Wipe away excess from non-recessed areas
- Seal with clear protective finish
6. Reupholstering Basics

If your furniture includes upholstered elements, refreshing the fabric can completely transform the piece.
Simple Seat Reupholstery:
- Remove the seat from the furniture frame
- Remove staples or tacks holding the old fabric
- Save the old fabric as a pattern for cutting new fabric
- Inspect and replace foam if necessary
- Cut new fabric using old piece as a template (add 2-3 inches all around)
- Center foam on seat base, then wrap with batting
- Place fabric face down on work surface
- Center the seat (foam side down) on fabric
- Pull fabric tightly and staple to underside of seat base
- Work from the center of each side, then corners
- Trim excess fabric and reattach seat to furniture frame
Ready to Start Your Furniture Makeover?
Furniture restoration is both an art and a science. With patience and the right techniques, you can transform neglected pieces into beautiful, personalized furniture that will be enjoyed for years to come.
Remember that every piece of furniture presents unique challenges and opportunities. Don't be afraid to experiment with different finishes and techniques to achieve your desired look. The most important ingredient is patience—rushing through steps almost always leads to disappointing results.
Start with a simple project to build your skills and confidence, then tackle more complex pieces as you become more experienced. Happy restoring!
Comments (4)
Robert Chen
June 2, 2024I just restored an old dresser using your guide, and I'm amazed at how it turned out! The stripping advice was especially helpful - I would have rushed through that step without your warning.
Lisa Taylor
May 30, 2024What's the best type of paint to use on kitchen chairs that will get a lot of use? I'm worried about durability with chalk paint.
James Wilson
May 30, 2024Great question, Lisa! For kitchen chairs, I recommend using a latex or acrylic enamel paint specifically formulated for furniture. These paints are more durable and cleanable than chalk paint. If you love the look of chalk paint, you can still use it but be sure to apply 2-3 coats of a polyurethane topcoat for protection. Water-based poly won't yellow over time like oil-based versions.
Carlos Mendez
May 29, 2024Do you have any tips for identifying real wood versus veneer? I've been burned a couple times buying pieces I thought were solid wood.
Leave a Comment